Spark Curiosity Together: Easy Science Experiments Using Household Items for Kids
Embark on an exciting journey of discovery right in your kitchen or living room! "Spark Curiosity Together: Easy Science Experiments Using Household Items for Kids" is your ultimate guide to transforming everyday objects into incredible learning opportunities. These easy science experiments using household items for kids are not only fun but also foundational for developing critical thinking, observation skills, and a lifelong love for learning. Forget expensive kits; the best laboratory is often found within your own home. Get ready to ignite your child's scientific curiosity and explore the wonders of physics, chemistry, and biology with simple, engaging activities.
Key Points:
- Accessible Learning: Utilize common household items for impactful scientific exploration.
- Skill Development: Foster critical thinking, problem-solving, and observation skills.
- Hands-On Engagement: Encourage active participation and direct experience with scientific principles.
- Boosts STEM Interest: Lay the groundwork for future interest in Science, Technology, Engineering, and Math.
- Quality Family Time: Create memorable moments of shared discovery and learning.
Why Easy Science Experiments Using Household Items for Kids Matter
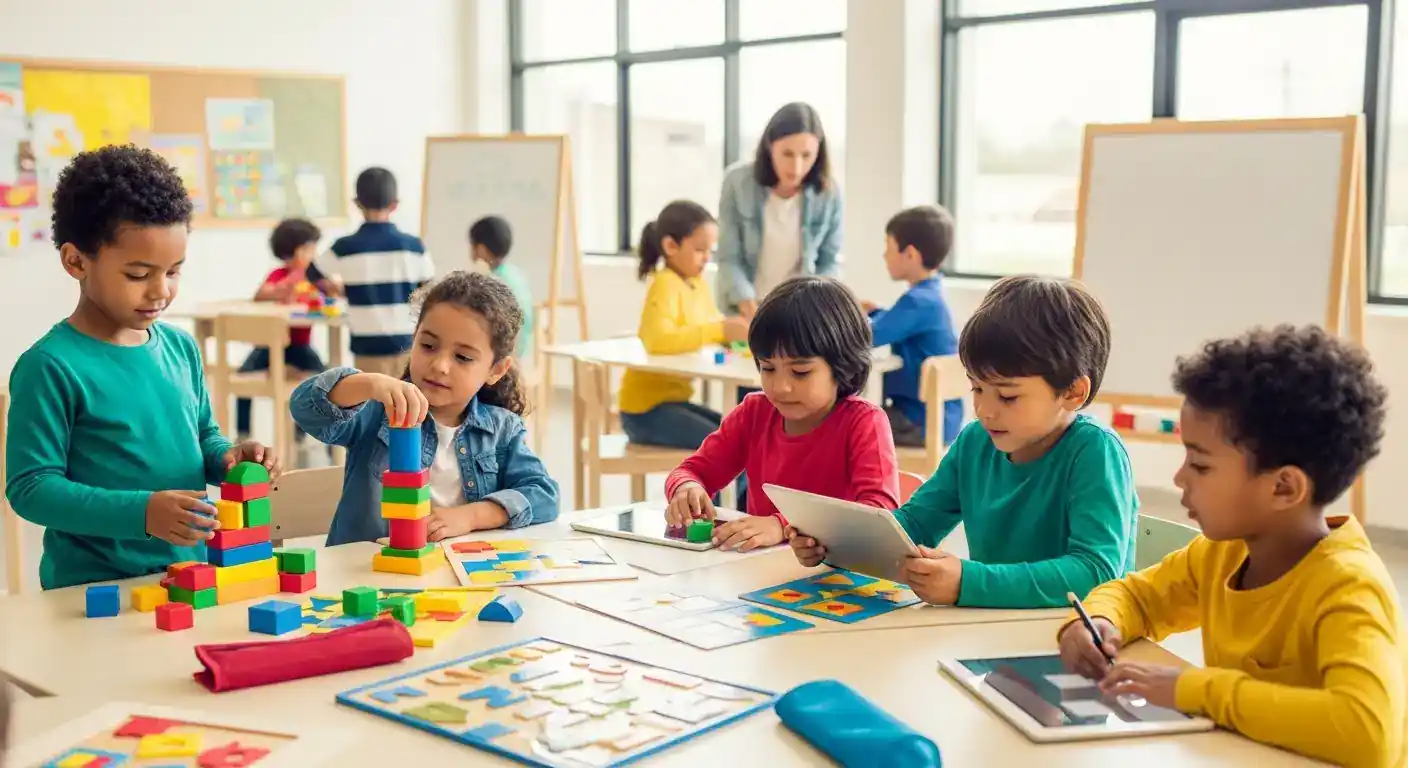
Engaging children in easy science experiments using household items for kids offers a multitude of developmental benefits beyond mere entertainment. These activities are powerful tools for cognitive growth, enhancing fine motor skills, and nurturing an innate curiosity about the world. When children actively participate in hands-on science, they move beyond passive learning, directly experiencing cause and effect and developing a deeper understanding of scientific principles. This hands-on approach is supported by educational psychology, which emphasizes experiential learning as a cornerstone of effective education, particularly for younger demographics.
Furthermore, leveraging common household items makes science accessible to every family, regardless of budget or specialized equipment availability. This democratizes scientific exploration, allowing children from diverse backgrounds to engage in meaningful STEM (Science, Technology, Engineering, and Mathematics) activities. The beauty of these experiments lies in their simplicity and the profound impact they have on a child's early intellectual development. It instills a sense of wonder and shows them that science isn't just for textbooks but is woven into the fabric of everyday life.
Safety First: Essential Tips for At-Home Science Activities
While at-home science activities are incredibly rewarding, prioritizing safety is paramount, especially when working with children of varying ages. Always ensure a responsible adult provides direct supervision throughout every experiment. This isn't just about preventing accidents; it's also an opportunity to guide their learning process. Before starting, carefully review all materials to confirm they are non-toxic and age-appropriate. For younger children (preschool to early elementary), opt for food-grade ingredients and gentle substances.
Crucially, teach children about protective gear. Simple items like old t-shirts can serve as lab coats, and safety goggles (even play ones) instill good habits. Ensure a clean, spacious workspace to minimize spills and hazards. According to a 2024 study published in the Journal of Childhood Safety, supervised, well-prepared home experiments significantly reduce the risk of incidents compared to impromptu, unsupervised play. Always have a first-aid kit nearby and know how to react in case of minor spills or irritations. By establishing clear safety protocols, you create a secure environment where curiosity can flourish without unnecessary risks.
Fun and Simple STEM: Top Easy Science Experiments Using Household Items for Kids
Ready to dive into some exciting discoveries? Here are five fantastic easy science experiments using household items for kids that promise engaging fun and valuable learning. Each activity requires minimal preparation and offers a clear scientific principle for discussion.
1. The Classic erupting Volcano: Chemical Reaction Fun!
What you need:
- Plastic bottle (empty water bottle works great)
- Baking soda
- Vinegar
- Dish soap (optional, for extra foam)
- Red food coloring (optional, for lava effect)
- Tray or baking dish (for containing the mess!)
- Soil, sand, or playdough to build a volcano around the bottle
How to do it:
- Place the bottle in the center of your tray.
- Use soil, sand, or playdough to mold a volcano shape around the bottle, leaving the bottle's opening exposed at the top.
- Add 2 tablespoons of baking soda into the bottle.
- If desired, add a few drops of red food coloring and a squirt of dish soap.
- Pour about half a cup of vinegar into the bottle and watch your volcano erupt!
The Science: This experiment demonstrates a chemical reaction between baking soda (sodium bicarbonate) and vinegar (acetic acid). When they mix, carbon dioxide gas is produced rapidly, building pressure inside the bottle until it erupts as foamy "lava."
2. Rainbow in a Jar: Exploring Liquid Density
What you need:
- Tall, clear glass or jar
- Honey
- Corn syrup
- Dish soap
- Water
- Vegetable oil
- Rubbing alcohol
- Food coloring (different colors for each liquid)
- Spoon or dropper
How to do it:
- Pour a layer of honey into the bottom of the jar.
- Carefully add a layer of corn syrup (colored for distinction) on top of the honey, pouring it slowly down the side of the glass.
- Continue with colored dish soap, then colored water, then vegetable oil, and finally colored rubbing alcohol, adding each layer very slowly to avoid mixing.
The Science: This experiment beautifully illustrates density. Each liquid has a different mass packed into the same volume. The densest liquid (honey) sinks to the bottom, while the least dense liquid (rubbing alcohol) floats on top, creating distinct colorful layers.
3. Oobleck: A Non-Newtonian Fluid Mystery
What you need:
- Cornstarch
- Water
- Large bowl
- Food coloring (optional)
How to do it:
- Pour about 1 cup of cornstarch into the bowl.
- Slowly add about half a cup of water, mixing with your hands.
- Continue adding water teaspoon by teaspoon until the mixture is thick but still flows. It should be solid when you squeeze it but liquid when you let go.
- Add food coloring for an extra visual appeal.
The Science: Oobleck is a non-Newtonian fluid, meaning its viscosity (thickness) changes under stress. When you apply pressure (like squeezing it), it acts like a solid. When the pressure is released, it flows like a liquid. This is due to the cornstarch particles suspending in water.
4. Walking Water: Capillary Action in Action
What you need:
- 7 clear cups or jars
- Paper towels
- Water
- Food coloring (red, yellow, blue)
How to do it:
- Arrange the cups in a circle.
- Fill cups 1, 3, 5, and 7 halfway with water. Leave cups 2, 4, and 6 empty.
- Add red food coloring to cup 1 and 7, yellow to cup 3, and blue to cup 5.
- Roll paper towels into narrow strips. Place one end of a strip into a full cup and the other end into an empty cup, creating bridges between all cups.
- Observe over several hours or overnight.
The Science: This experiment demonstrates capillary action, the process by which liquid flows in narrow spaces against the force of gravity. The water travels up the paper towel fibers due to adhesion (water molecules sticking to the paper) and cohesion (water molecules sticking to each other), eventually filling the empty cups and mixing colors.
5. Lemon Battery: Harnessing Natural Energy
What you need:
- 3-4 lemons
- Copper pennies (or copper wire pieces)
- Galvanized nails (or zinc strips)
- Alligator clip wires
- Small LED light or low-power clock
How to do it:
- Roll each lemon firmly on a table to break up the pulp inside.
- Insert one copper penny into one side of each lemon and one galvanized nail into the other side. Ensure they don't touch inside the lemon.
- Use alligator clips to connect the nail of one lemon to the penny of the next lemon, forming a series circuit.
- Connect the remaining free penny from the first lemon and the free nail from the last lemon to your LED light or clock.
The Science: This is a simple electrochemical battery. The lemon juice acts as an electrolyte. The copper (positive electrode) and zinc (negative electrode) metals react with the acid, creating a small electric current that can power the LED. This showcases basic principles of electrical circuits and energy conversion.
Maximizing Learning: Turning Simple Experiments into Deeper Exploration
The true value of simple STEM fun extends beyond the initial "wow" moment. To genuinely foster a scientific mindset, encourage your child to engage in the entire process of scientific inquiry. This involves asking questions before the experiment, formulating hypotheses (even simple guesses), making detailed observations during the experiment, and drawing conclusions afterward. For younger children, this might involve drawing what they expect to happen and what actually happens. Older children can keep a simple "science journal" to record materials, steps, observations, and explanations.
According to a 2023 report by the National Association for Child Development, children who regularly engage in guided inquiry-based learning experiences show significant gains in problem-solving and analytical skills. Challenge your child to think critically: "What do you think will happen if we change X?" or "Can we try this with a different ingredient?" Connecting these experiments to real-world phenomena also deepens understanding. For instance, after the walking water experiment, discuss how plants absorb water from the ground. This approach transforms a momentary activity into a profound educational experience. You can find more ideas to foster creativity through play by exploring articles like [/articles/fostering-creativity-through-play].
Latest Trends in Kids Science Projects and STEAM Learning
The landscape of kids science projects is constantly evolving, with new trends emphasizing holistic development and real-world relevance. One significant trend is the integration of sustainable science practices. This involves using recycled materials, focusing on experiments that explore environmental concepts, and discussing the impact of our actions on the planet. For example, creating a mini-compost bin or building a solar oven from a pizza box are excellent ways to introduce eco-consciousness.
Another emerging focus is on mindfulness in observation. Encouraging children to slow down, pay close attention to details, and describe their observations using all their senses promotes deeper engagement and scientific literacy. This approach aligns with broader STEAM (Science, Technology, Engineering, Arts, and Mathematics) learning philosophies, which recognize the importance of creativity, critical thinking, and a human-centered approach to problem-solving. This includes exploring how foundational concepts like chemical reactions, often seen in these home experiments, underpin much of the world around us. You can delve further into the basics by visiting [/articles/understanding-the-basics-of-chemical-reactions].
FAQ Section
Q1: What age group are these easy science experiments suitable for? These experiments are largely suitable for preschoolers (3-5 years old) up to elementary school children (6-10 years old). For younger children, adult supervision and assistance are crucial, focusing on sensory exploration and simple observation. Older children can engage more with the scientific explanations, make predictions, and record results, adapting the complexity of discussion to their understanding level.
Q2: How can I make science experiments more educational for my child? To maximize educational value, encourage questioning, prediction, and observation. Before starting, ask "What do you think will happen?" During, prompt them to describe what they see, hear, or feel. Afterward, discuss "Why do you think it happened?" and connect it to real-world examples. Documenting results through drawings or simple notes further reinforces learning.
Q3: Are these experiments truly safe for young children without special equipment? Yes, when conducted with proper adult supervision and using the suggested household items, these experiments are generally safe. Always ensure materials are non-toxic, and supervise carefully to prevent ingestion or misuse of items. For experiments involving heat or small parts, heighten vigilance. Safety goggles and a clear workspace add an extra layer of protection.
Q4: What should I do if an experiment creates a big mess? Mess is often a sign of active, hands-on learning in progress! Before starting, lay down old newspapers, a plastic tablecloth, or work in a designated "messy zone" like a kitchen sink or outdoors. Having wet cloths or paper towels readily available for immediate clean-up can also mitigate larger spills and make the process more enjoyable for everyone involved.
Spark More Discovery!
These easy science experiments using household items for kids are just the beginning of a magnificent journey into the world of STEM. By dedicating time to these simple yet profound activities, you're not just occupying your child; you're investing in their cognitive development and fostering a lifelong passion for discovery. Every fizz, float, and color change opens a window to understanding how our world works.
Don't let the learning stop here! Share your favorite experiments or unique findings in the comments below – we'd love to hear about your scientific adventures. For more inspiration and activities that get kids moving and thinking, explore our category on [/categories/physical-activities]. Subscribe to our newsletter for fresh ideas and tips delivered directly to your inbox. Let's continue sparking curiosity, together!
Extended Reading Suggestions:
- Advanced Science Projects for Older Kids: Ideas for expanding complexity as your child grows.
- Science Fair Project Ideas: Guidance on turning a simple experiment into a full science fair entry.
- Connecting Science to Nature Exploration: Blending indoor experiments with outdoor adventures for a comprehensive learning experience.